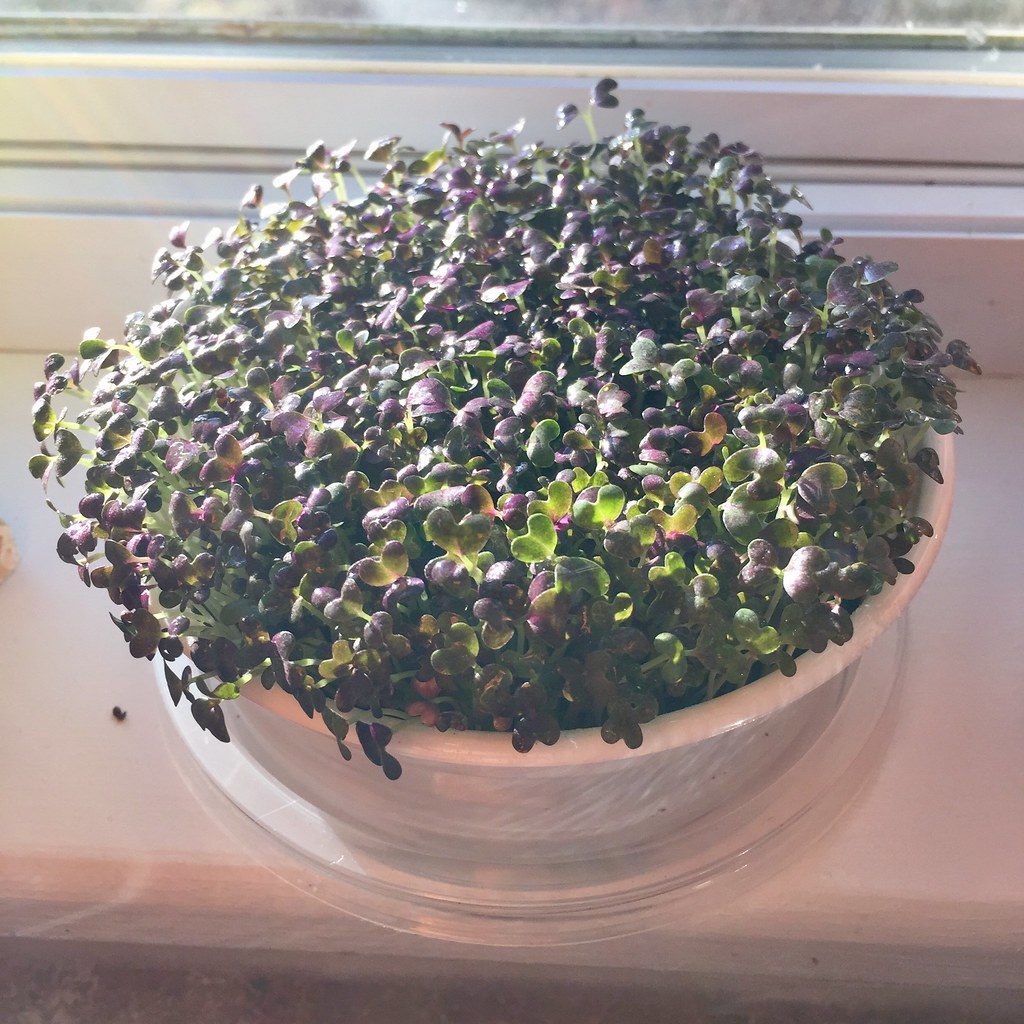
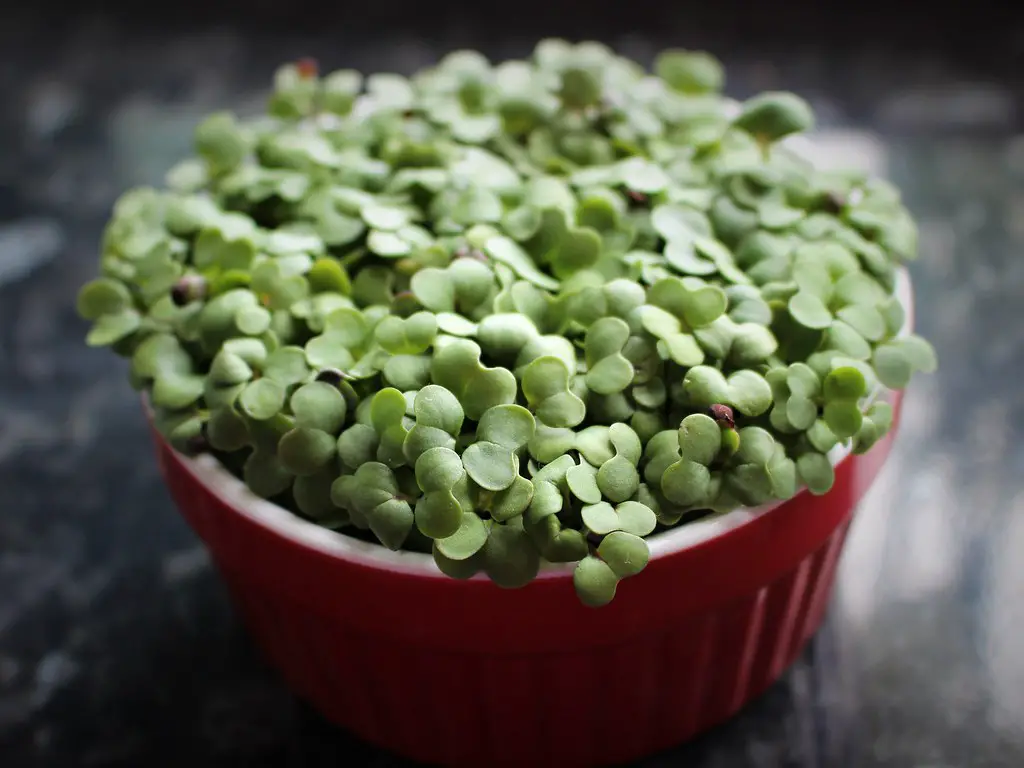
From oversaturated roots to light and air quality, there can be a lot of reasons for mold on your microgreens. Whatever the reason, though, mold is always a problem. It can damage your plant growth, kill them outright, and affect your health if you eat something that had mold growing on it.
Not only can you remove mold, but there are several ways to prevent it from growing. In this post, you’ll also find out how to identify mold on your microgreens and some of the reasons for it to grow. If that’s what you’re looking for, let’s get started!
Why Is There Mold on Your Microgreens?
If mold has started growing on your microgreens, don’t assume it means that there’s something wrong with your green thumb. In fact, there are a number of reasons that mold can grow and they’re common mistakes that can be easily fixed.
Too Much Water
While your microgreens do need water to grow, too much can do more harm than good. That’s because excessive water can create a bed for mold to grow if that water doesn’t have proper drainage.
Too much water can also make the soil unable to “breathe,” which can start to kill your plants from the root up.
Method of Growth
Another main reason that mold begins to grow is the choice of soil. If the composition of your soil isn’t clean enough, “dirty” soil can allow bacteria to gather at the base of your microgreens. Mold spreads quickly and, before long, you’ve got a bad situation.
What Does Mold Look Like on Microgreens?
Unfortunately, mold can deceive many first-time growers of microgreens as the natural hair that appears and vice versa. The good news is that there are a few ways to tell the difference.
Use Your Senses
Three of your basic senses can help determine whether there’s mold on your microgreens or if they’re perfectly healthy. The first is the eye test, because mold looks stringy while the natural hair looks like an even field of white through your plant bed.
Another way is the smell, because the hair that naturally occurs on roots doesn’t have a scent. On the other hand, mold smells awful and can be an easy difference to detect. However, if you’re still uncertain, there’s always getting your hands dirty.
That’s right, if you still can’t tell just reach on in and brush your hand through. The natural hair will feel soft and fluffy whereas mold will feel sticky and disgusting. Hopefully it’s just hair, but at least you’ll know.
Where’s the Fuzz?
When looking, pay attention to where the hair is growing. Naturally, root hair stays exactly where the name implies and doesn’t grow higher. Mold can grow all the way up your microgreens and connect to others in the plant bed.
Keep it Clean
One more way to separate the hair from the mold is with a good rinse. Go over your microgreens with a sprayer and wash them off. Their hair rinses right off after a while, but mold is persistent.
If the white stuff is still on your microgreens after a couple hours, you’ve probably got a mold problem. The good news is that you have a few options that can get rid of the mold and possibly still save your microgreens.

What Should You Do if There’s Mold on Your Microgreens?
You’ve gone down the checklist and established that your problem is, indeed, mold on your microgreens. Now what? You could just toss that batch and start over to be safe, or you could try and salvage your hard work.
It should be noted that, before you do any of these methods, if there’s a patch of mold away from any microgreens you might just want to go ahead and cut it out to save time.
Change of Environment
This goes into prevention of mold growth as well, but the environment can play a major factor in a mold problem. Air circulation is important to the health of your plants, but stagnant air can also create a great scenario for mold.
Make sure your microgreen tray is in a room with good airflow. The same goes for sunlight, though, or even a lamp. Dark, moist rooms can be a hot bed for mold growth, so putting your plants in direct sunlight during the day can prevent or kill mold.
Use a Solution
One of the most common methods of mold removal is to put a tablespoon of hydrogen peroxide in a bottle of water, or 16 ounces, and spray your microgreens. This will effectively clean your plants and kill any mold growing.
It might take more than one spray, though, so be patient. Also, don’t panic if the peroxide starts to fizz. That means it’s working.
Kitchen Products
As with hydrogen peroxide, cooking vinegar can be effective with killing mold. The formula is the same, with one tablespoon to 16 ounces of water, but unlike peroxide the vinegar will have a scent.
On the other hand, another thing that can be found in your kitchen might be grapefruit extract or grapefruit seed extract depending on where you shop. The formula here is a teaspoon for every 8 ounces, because it’s more concentrated.
Rest assured that all of these methods should work to effectively remove any mold from your microgreens. Of course, always make sure to check before you or anyone else ingests moldy plants by accident.
Related Articles
- DIY Microgreen Rack Setup: Everything You Need To Know To Grow Microgreens At Home
- How To Grow Microgreens On A Paper Towel
- What Are The Best Tasting Microgreens (And What Do They Taste Like?)
How Do You Keep Mold Off Microgreens?
It’s actually surprisingly easy to avoid having mold issues in the first place, but it happens. A lot of it is small errors, first-time mistakes, or just a forgetful moment. Whatever the reason, here are some common errors that can be prevented.
Proper Climate
As discussed above, poor air circulation and lack of natural light can cause bacteria to grow and thrive but there’s another potential problem. Too much water in the plant bed can be just as much of an issue, so make sure to use a container with holes in it.
If there aren’t holes, make some. Stagnant water allows bacteria to fester and rot the roots of your microgreens. If your plants are in a humid environment, this will also play into mold growth since bacteria and mold spores thrive on the hot, moist air.
You may want to invest in a humidifier or a fan in the room with your microgreens for them to grow better. It seems simple enough, but climate control and water drainage will make a huge difference.
Population Density
This one happens more frequently with first-time planters, but putting too many seeds in a container or not spacing them out properly will aid in mold growth. Be sure to search your specific microgreens to find out how far apart to plant them.
If they grow too close together, they won’t be able to absorb water correctly and can keep air from flowing through the plant bed as well. Both of these will cause mold to grow, so allow them to grow with enough space and you’ll be golden.
A good way to avoid this issue would be to use 2 smaller containers or trays as opposed to 1 large one, because this will give less area for mold to grow and help ensure correct airflow.
Low Germination and Bad Soil
When you pick seeds, make sure to choose seeds of quality. Every seed that doesn’t germinate increases the chances of mold growing in your bed of microgreens. Likewise, some seeds have a tolerance to mold growth so be sure to read the packaging.
While the composition of your soil does play a role in plant growth, there’s no such thing as “bad” soil. In this case, it refers to too much moisture in the bag that creates a warm, wet environment for mold to grow.
The easy fix for this is to just open the bag when you get home and let air in. Not only will this allow your soil to “breathe,” but it will dry out any excess moisture. If you’re worried about your soil drying out, remember that your soil will be fine once you plant the seeds and get some water in there.
Clean Everything
Sanitary habits are a must when it comes to preventing mold and bacteria from growing. It’s as simple as washing your hands, yet so many people overlook the small details that make all the difference.
You should focus on cleaning both the trays and the seeds, because bacteria can be anywhere. For the seeds, go back to the formula of one tablespoon of hydrogen peroxide to 16 ounces of water. Just make sure that your peroxide is the 3% kind as opposed to higher concentrations.
You can use the same solution to sanitize the trays and containers for your soil and seeds, but you can also dilute a higher concentration of hydrogen peroxide if you want to be sure they’re clean.
If your trays are small enough, you always have the option of using the dishwasher as well. You can also use bleach or vinegar for the trays, but the easiest option is hydrogen peroxide since you’d already have it from cleaning the seeds.

Articles You May Like:
- Mung Bean Microgreens (How To Grow, Benefits, FAQ, Pests)
- Corn Microgreens (How To Grow, Pests, FAQ, Benefits)
- Carrot Microgreens (How To Grow, Benefits, FAQ, Pests)
Recap
Congratulations! If you’ve made it this far, that means you should be able to identify the difference between natural root hair and mold on your microgreens and the reasons that the mold grows in the first place.
You’re now equipped to deal with the mold problem and prevent it from happening again, so hopefully, you won’t have to go through the process ever again.

