The Kratky method is hydroponics technique that is easy to do and produces results that you won’t believe! Today we’ll tell you all about it, including how to make your own Kratky mason jar, some plants that you can grow, and the pros and cons of this technique.
It’s an exciting way to raise your own organic fruits and vegetables and you can literally set it up in minutes with a few easy materials. Let’s get started and you can see for yourself!
What Is The Kratky Method?
The Kratky method is a means of creating a small non-circulating hydroponics system. In simple terms, it allows you to create a hydroponics system that doesn’t require an aerator, a pump, or any electricity that can consistently serve as superior growth medium for your plants.
It involves suspending a plant over water and nutrients so that only the roots touch and as the water depletes, air pockets are created naturally for the plant, with the target of running out of water once the plant is ready to harvest!
What Will You Need To Start The Kratky Method In A Mason Jar?
To get started on your first Kratky Method Mason Jar there are a few basics that we’re going to need. We’ll list them off and elaborate on each as-needed. You will need the following to get started:
- Mason jar – This should be wide-mouthed and amber is ideal, but not required (more on that later).
- 3-inch Heavy-duty net cups – We’ll be hanging one of these in the mason jar.
- PH balance checker – A cheap electronic PH checker will help us to ensure proper PH balance for the plants we select to grow.
- PH Up and PH Down – PH Up is a mix of potassium carbonate and potassium hydroxide, while PH Down is food-grade phosphoric acid. General Hydroponics has this commercially available or you can check your local nursery supply.
- 2″ Rockwool cube – Rockwool cubes give us a re-usable medium for germinating cuttings or seeds.
- Nutrient mix of your choice – Concentrates like General Hydroponics Flora are ideal but only a suggestion.
- Seeds of choice – Lettuce, basil, or Spinach are good starters just to get the hang of this method!
How To Setup A Kratky Mason Jar?
Creating a Kratky Mason Jar is so easy that when you see the results, it kind of blows your mind. We’ve outlined the steps below and we’ll elaborate on each so that you get up and running right away!
Step 1 – Basic Kratky Mason Jar Assembly
First off, we will need to remove the metal-circle portion of your Mason Jar lid, while keeping the metal sealing ring. Grab one of your Net cups and you will find that it conveniently fits right into the top of the jar, without falling in.
Now you can simply screw the top ring in to secure the net jar and we have our basic Kratky mason jar framework in place. We’ll just need a fed more modifications to make it ready to use.
Step 2 – Mark Out A Fill Line
We are going to need to mark a proper fill line in order to ensure that we are following the Kratky method properly. This means that we need to take a permanent marker and mark a spot that located at a height of ¼ above the bottom of your Net cup.
This is important, as any water above this location can drown out your seedling and anything below can starve it before it germinates properly.
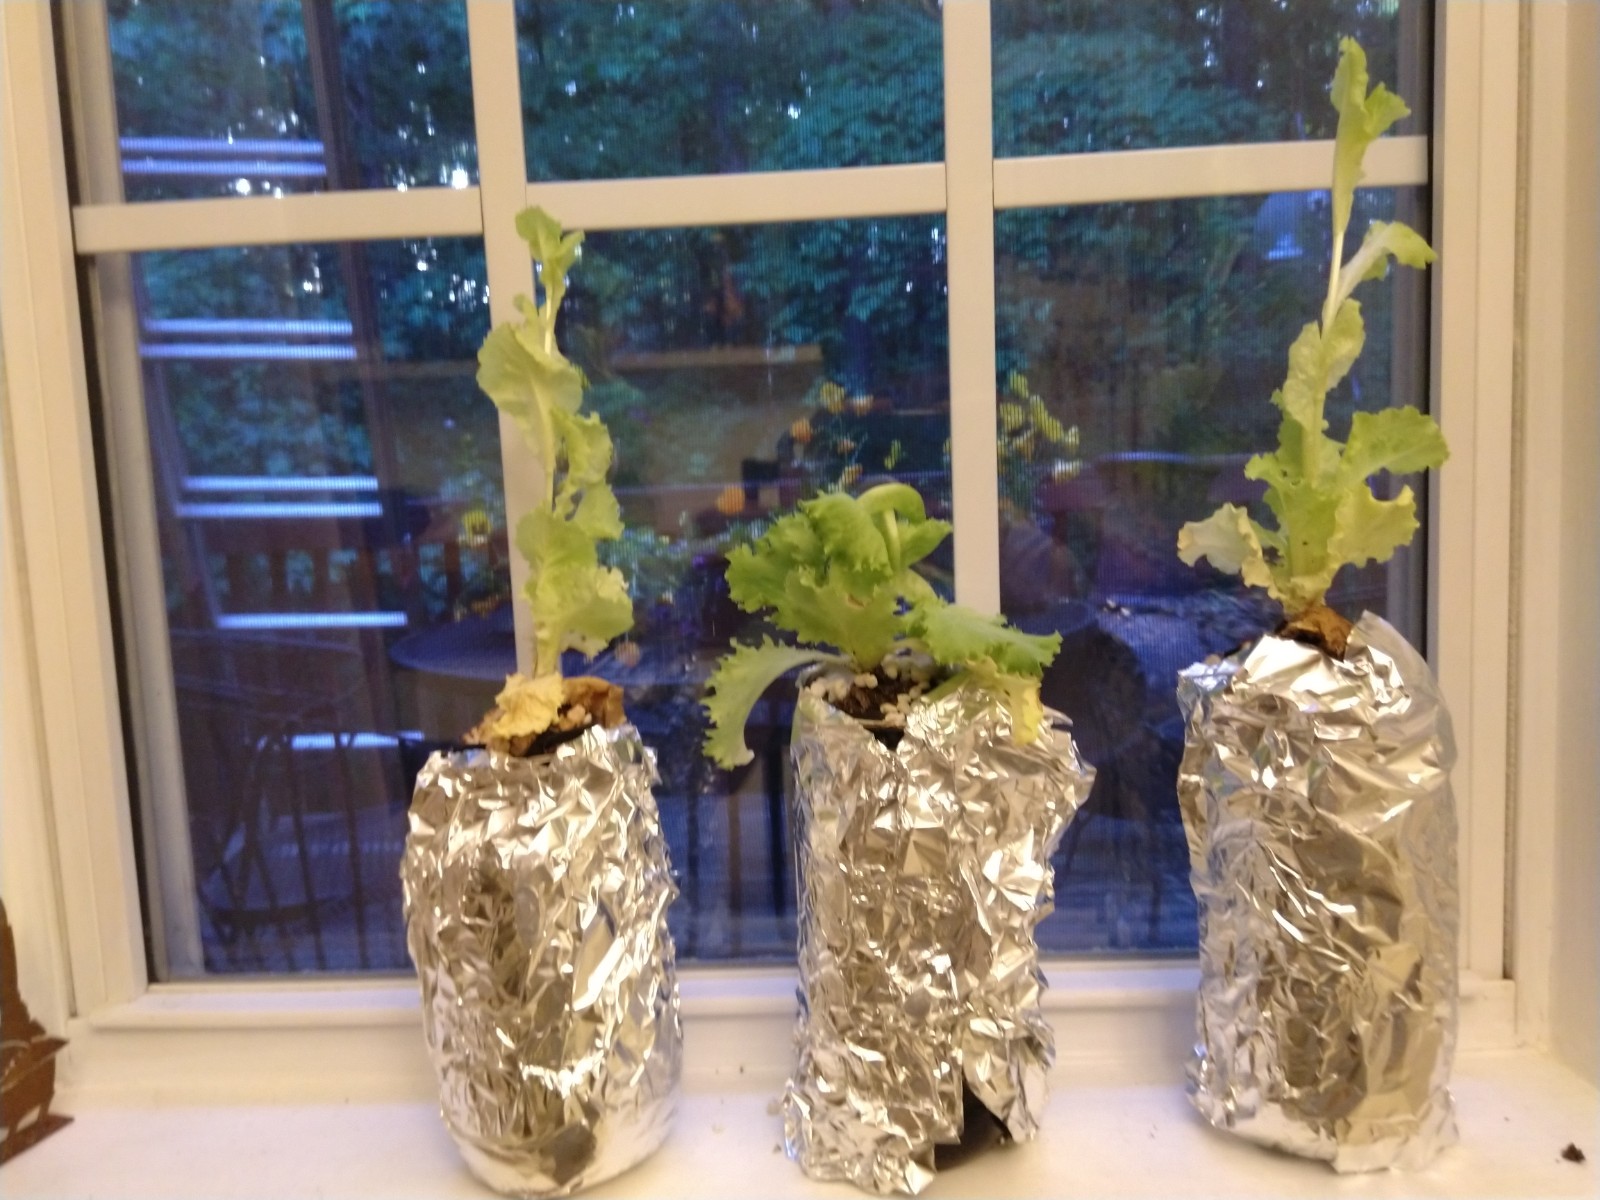
Step 3 – Paint Your Jar For Algae Protection
If you decided to use an amber mason jar then this step is not important, but if you have a clear jar then we are going to need to either paint it or cover it by some other means (foil on the outside or even opaque tape will do the trick).
This is because sunlight hitting our nutrient solution on the inside can produce mildew or bacteria and we certainly don’t want that. You can also just wrap the outside in foil if you like, we just need to make sure that we keep the sunlight out of your mason jar.
Feel free to get creative with the painting, as your jars can be quite aesthetically pleasing with a little work.
Step 4 – Mix Up Your Nutrients And pH Balance Them
You’re going to want to mix up your nutrient solution and make sure that it is PH balanced for our needs. This is where you may employ your PH up and PH down. Using your reader, test your mixed solution until you achieve the PH balance that you want for the seeds that we’ll be growing.
If you aren’t sure what PH that you will need, don’t worry, later in this article we are going to cover some common fruits, vegetables, and herbs that you can grow with the Kratky method and we’ll tell you their PH levels so that you can balance your nutrients appropriately.
Once you’ve got your solution ready, pour it into your Kratky jar up to the fill line and we are ready for the next step.
Step 5 – Soak Your Rockwool To Minimize Alkalinity
Rockwool starter plug cubes are amazing for hydroponics but they are a little alkaline at their normal 7.8 PH. This means that we need to properly prepare our cube for use by reducing the alkalinity a little and this is easily done by soaking it in water which has a PH of 5.5.
A 15 – 20 second soak should be good for our needs.
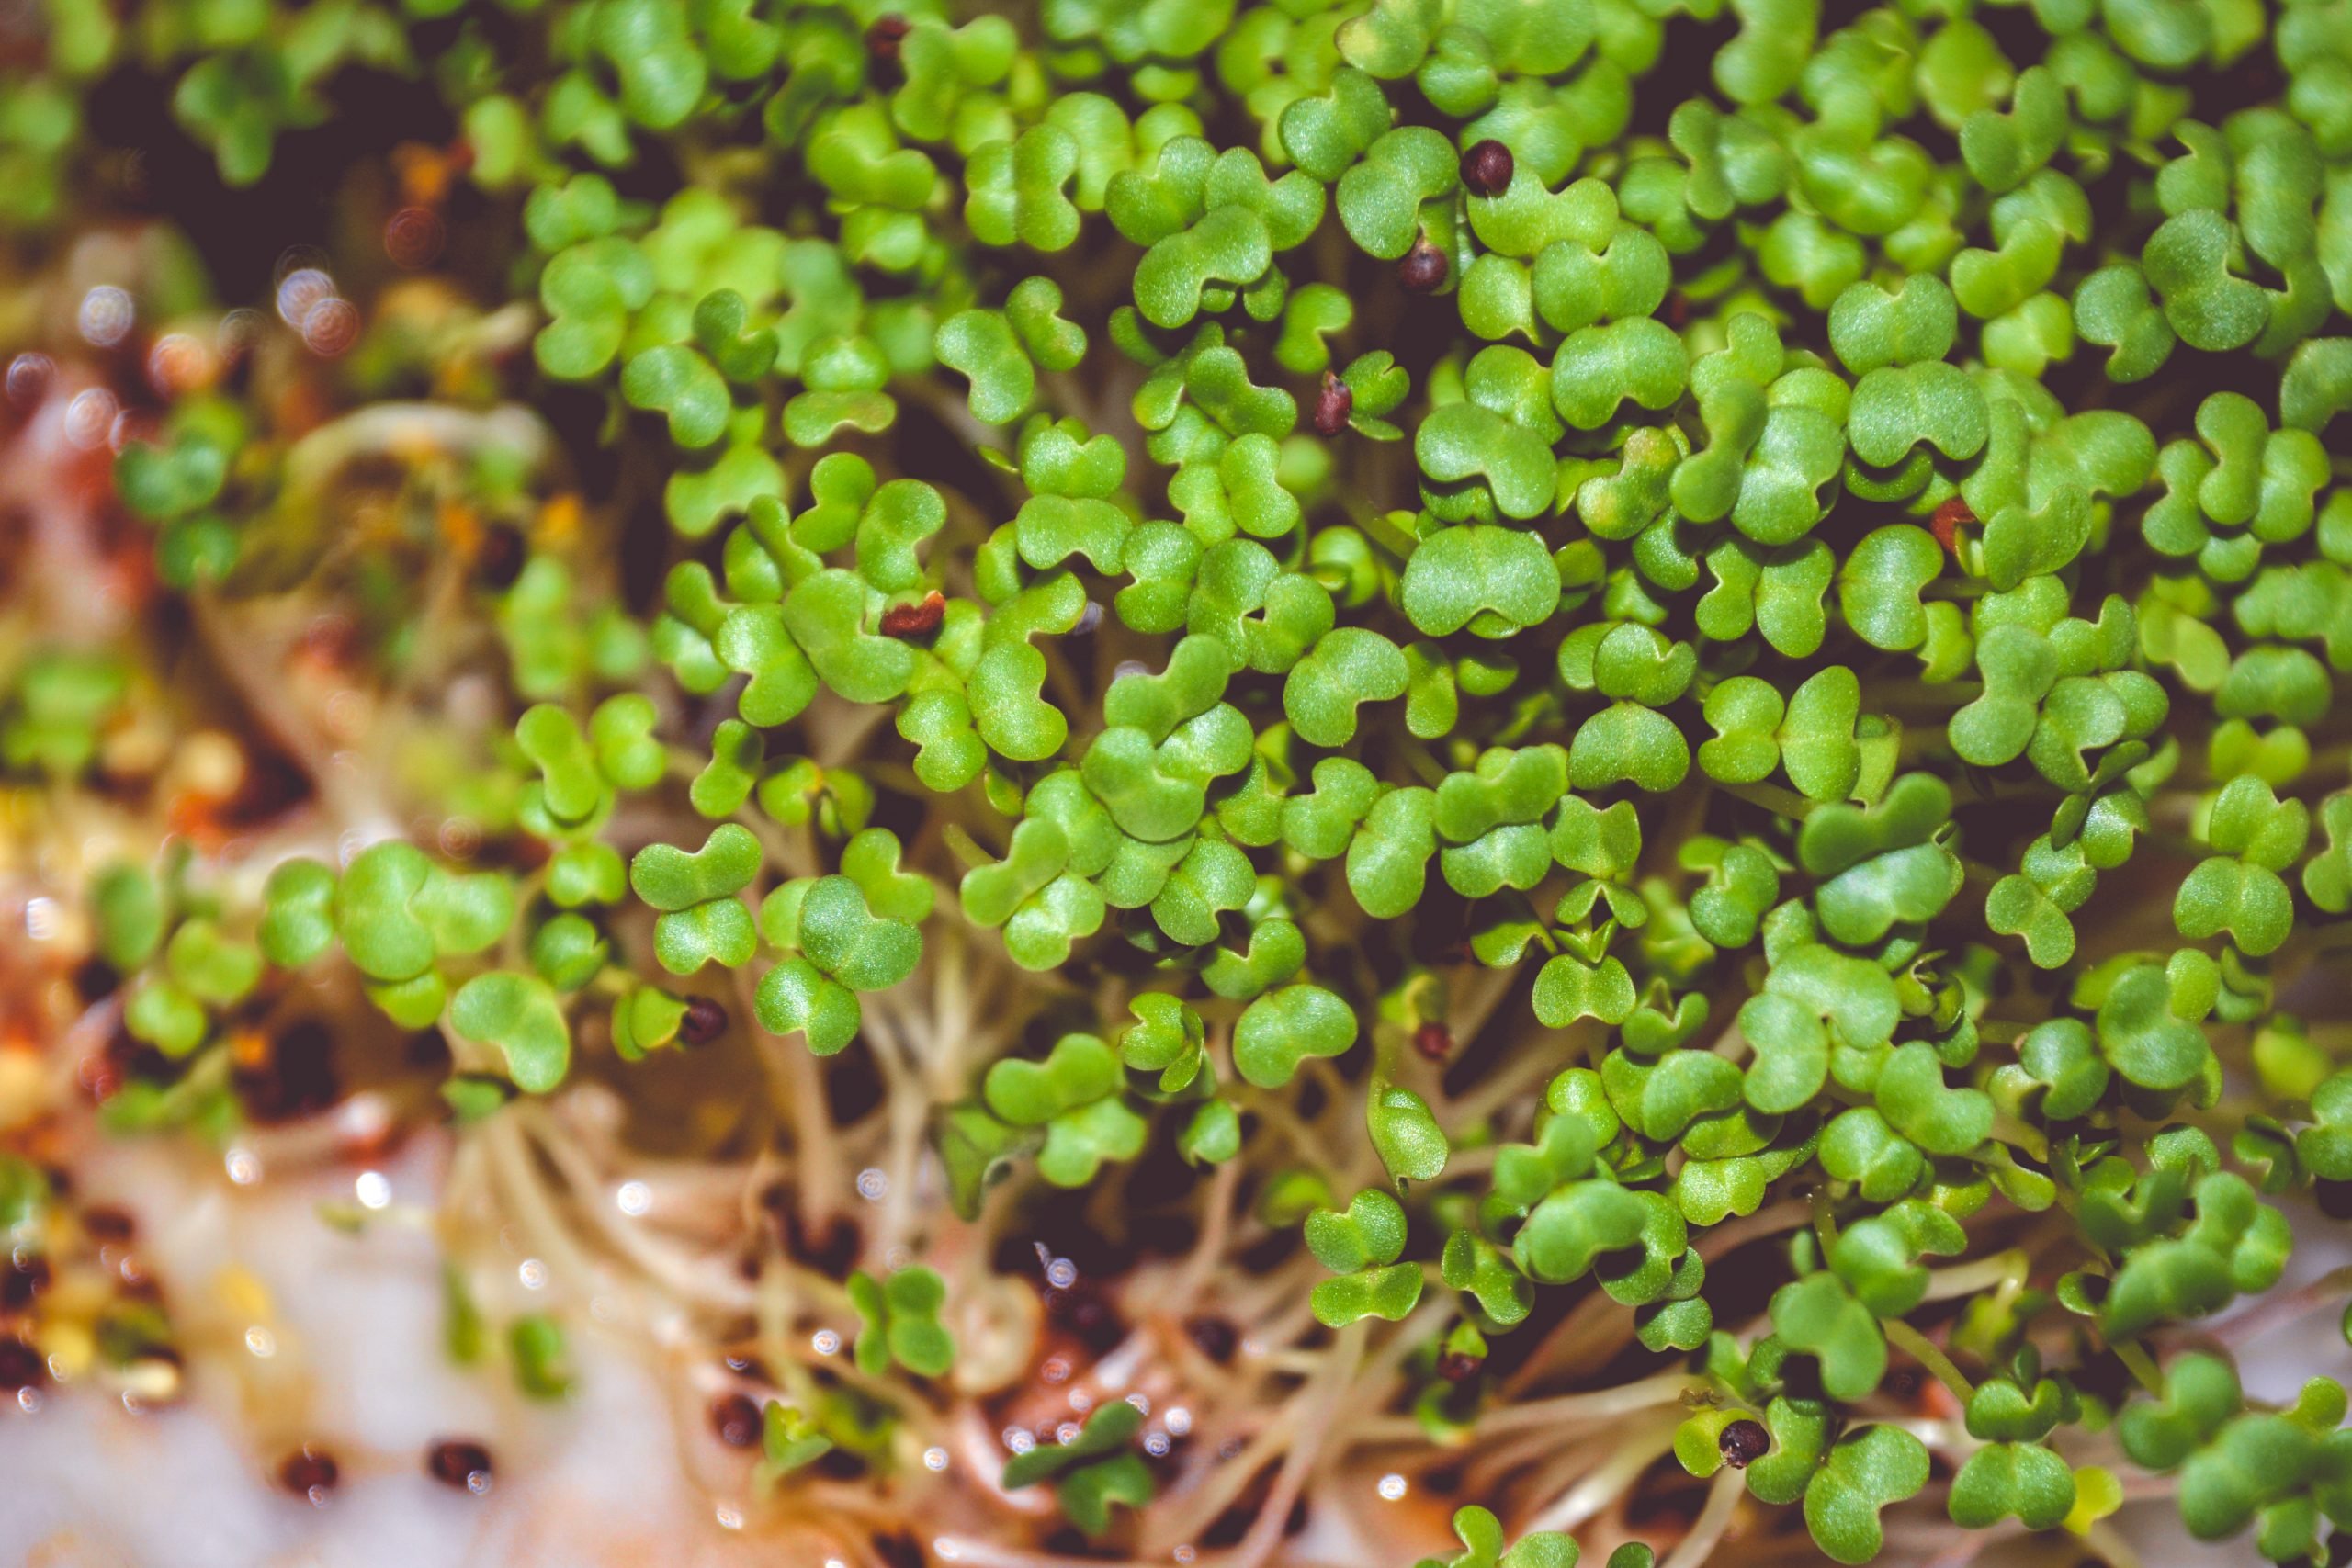
Step 6 – Seeding Your Rockwool
Now we are ready to add seeds to our Rockwool, so go ahead and add 2 – 3 seeds from the plant which you selected. You’ll also want to cut a small piece of Rockwool which you may use to cover the seeds lightly to keep them shaded while they are germinating.
Place your Rockwool into your net cup very gently and screw the lid tightly to secure it in place.
Step 7 – Cover With Plastic Wrap
In order to help stimulate germination, we can create a mini-greenhouse by taking a sandwich bag or even a plastic cup that we can put over the top of our Kratky jar so that it loosely covers it. This will let us build up some humidity to help ensure a proper germination so that the roots will start seeking out the water and nutrients on their own.
Step 8 – Top Up The Water As Needed
This is where things get fun! You’ll want watch your nutrient water levels to make sure that they are always consistently in contact with the roots so that you know your plant is getting nutrients. Don’t fill it all the way, however, just enough to keep a portion of your roots covered.
As long as the roots are in contact with the nutrient solution, then your plant should remain healthy until it is ready to harvest!
Congratulations, you have just learned basics of the Kratky method!
What Plants Will Grow Best?
You can grow a wide variety of plants in your Kratky Mason jar and figuring out what you want to grow is half the fun! That said, we’ve got a few favorites that we’ll share with you that will grow quite well in your own jar. Just be sure to pay attention to the PH level and other information we’re about to provide and you’ll soon see for yourself!
Basil
There is nothing quite like having fresh Basil always at your disposal. You can grow it quite easily, as well, though you are going to need to ensure that it gets proper lighting and that you are growing it in an environment with a warm temperature. It will need about 11 hours of light daily and your PH should be somewhere between .5 to 6.5 for best results.
Be sure to trim, rather to pinch off leaves, as this will help to encourage better growth from your Basil.
Kale
A regular staple for the health-conscious, so why not grow your own? Kale does well in a Kratky mason jar and will require a PH level of 5.5 to 6.5. A full day of sunlight is best, but it is still quite edible with only 6 hours of light and it grows well in moderate temperatures.
Lettuce
Lettuce is another favorite that is quite easy to grow. You should give it about 6 hours of light, though it will actually grow on less. Lettuce is going to grow best in a cooler environment and has a PH requirement of 6 – 7.
Strawberries
Yes, you can have strawberries year-round! Growing this fruit will take you about 2 months, but avoid standard strawberries seeds or your berries won’t be available for a couple of years! For strawberries, you want to transplant a partially grown plant to your mason and it will need a PH from 5.5 – 6.2 to grow properly. They’ll also need 6 to 10 hours of daily light and will grow in moderate of even cool temperatures.
Sweet Spinach
Spinach is another plant that simply thrives when you grow it with a hydroponics system like the Kratky method. You’ll want to keep it at a PH between 6 and 7.5 and a moderate temperature between 65 and 72 degrees is going to be ideal when you are growing it. For best results, hydroponic spinach should have about 12 hours of light a day.
Chives
If you like fresh chives and the thought of having them daily sounds amazing, then you are in luck! You can get some from your grocery store to transplant and you’ll want to maintain a PH balance of 6 – 6.1. They will need a lot of light, about 12 – 14 hours daily is ideal, and they should be grown at a warm temperature.
You will likely need to trim/harvest them daily and they should be fully mature within 6 to 8 weeks.
Sage
Another treat for those who love home-cooking, growing Sage is not difficult at all with your Kratky mason jar, you’ll need to keep it within certain parameters if you want to get some good results. Sage has an ideal PH which falls between 5.5 and 6.5 and while it thrives best in moderate temperatures, it will also grow in cool ones.
You’ll want to ensure that it gets about 12 hours of light a day as well in order to ensure that it thrives.
Are There Any Downsides To Growing Plants In A Mason Jar?
While it’s an excellent method that can provide you with consistent, even amazing results, there are some caveats to using the Kratky method in a Mason jar that should be considered. Below we’ve listed some of the potential downsides that you will want to consider.
Generally, It’s Only Suitable For Small Plants
For growing something small, your Kratky mason jar will be hard to beat. Larger plants, however, are going to require larger containers and a bit more work. Sometimes you can compromise, for instance, in cases of vining plants, you can certainly run a line for the vine to grow on and may the results that you are hoping for.
That said, you’re likely to find that there will a limited range of small plants for which the mason jar will be optimal.
Not Good For Larger-scale Production
While you set up many Kratky mason jars to produce a goodly number of vegetables or fruits that you enjoy, it is not a good method for any kind of mass-production. So, if you just want a personal hydroponics garden then your Kratky mason is a great option but it’s not a solution for those who wish to market organically grown fruits and veggies.
You Need To Cover Your Jars If You Are Growing Them Outside
While many like to grow their Kratky jar plants outside, special care should be made in order to keep these plants properly covered. We want to make sure that we don’t get rainwater in the jar as it is going to upset that PH balance which we have so carefully cultivated. This is vital, so don’t forget to cover them properly if they’ll be outside.
The pH Level Needs To Be Correct
You MUST measure out the proper PH level when you are getting started. This is essential, as what we are basically creating is a perfect mini-environment that provides its own oxygen and the correct dosage of nutrients for optimal growth. If the PH is off then you might come back to look at your Kratky mason jar and find that your plant has died!
What Are The Benefits Of Growing Plants In A Mason Jar?
There are a number of benefits to employing the Kratky method via a small medium like a mason jar. Below we have listed some of the top perks to this choice.
Consistently Gives Great Results
When done right, the Kratky method is a sight to behold. You can consistently produce results that are superior to just using soil because what you basically have is a perfect environment in a jar. It’s hard to argue with results, so this is certainly a point in this method’s favor.
Low-Maintenance
Once you’ve set up your mason jar, there really isn’t much to do other than make sure that your plant is getting sunlight, that no clever pests have gotten in, and to ensure that the roots always access water. This doesn’t take much time at all and makes this an ideal method for those who like fresh fruits and veggies but don’t have the time for a regular garden.
Cost-Effective
Getting started is very inexpensive and in some cases, you might already have what you need at home. Nutrient solutions can be bought by the gallon and last you a very long time, as well, so once you have the startup gear then maintenance can pretty-much be done with pennies.
Novice-Level Method That Works Well
Not everyone has a green thumb, but you don’t need one with a Kratky mason jar. Anyone can set one up and it’s a great project to share with the kids.
Excellent Solution For A Small-space Garden
For those who want to grow their own organic fruits and vegetables, this method requires very minimal space and this means that you can often make a lovely garden right on your own patio or balcony.
Painted Kratky Jars Make Great Gifts
With ease of use and creation, painted Kratky mason jars make unique and excellent gifts that you can even seed in advance for your lucky friends who will be receiving one.
Some Final Words On Kratky Mason Jars
Now you should have all of the basics that you need to get started with your own Kratky mason jar home-garden. Remember to keep track of those all-important PH levels and to make sure that your plant is getting enough light and soon enough you’ll see some great results.
Count on it!