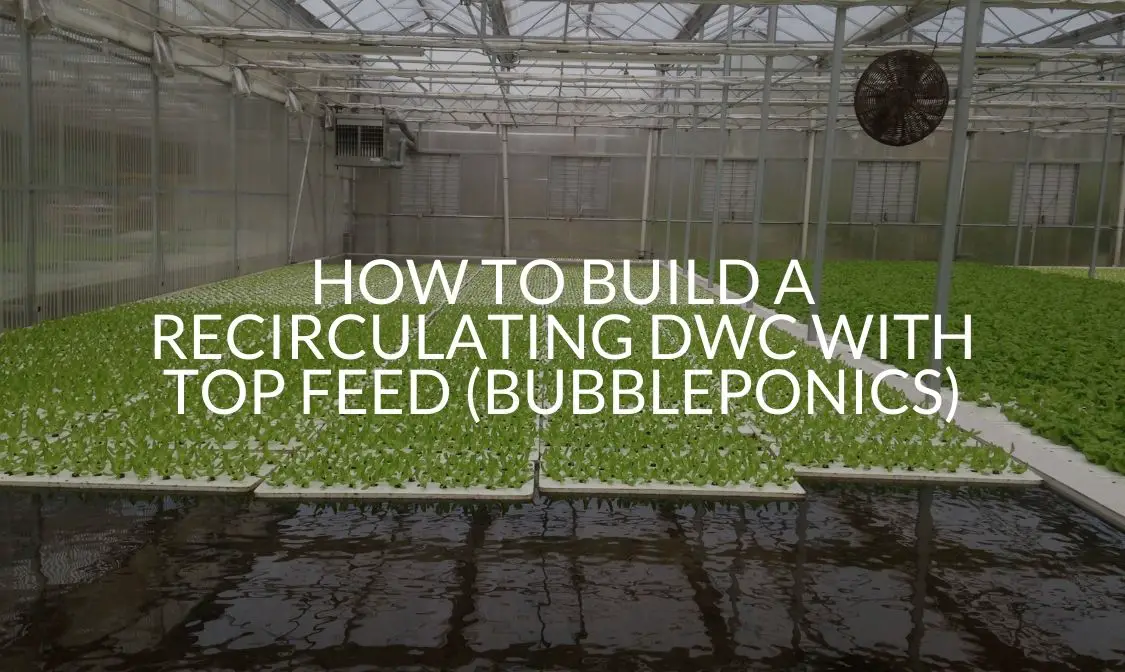
Recirculating DWC with a top feed, sometimes called bubbleponics, is a masterful growing technique that creates near-perfect growing conditions, but it is one that is unheard of to many people. Despite being less common than other techniques, it’s a relatively simple and highly effective way to grow your plants.
If you are thinking about trying bubbleponics but don’t know where to start, you’re in luck. This article provides a guide to recirculating DWC with a top feed, including what it is, how it works, setup, pros, and cons. Read on to find out more.
What is A Recirculating DWC With A Top Feed?
Recirculating DWC with a top feed is like regular DWC, but it goes a step further. With regular DWC, you place the plant roots inside a reservoir that is filled with aerated nutrient water with the correct PH. There, the roots hang so that they get the best access to nutrients, oxygen, and water.
Recirculating DWC with a top feed uses the same method, but there is an addition. A small stream of that same water that is pH balanced, nutrient-rich, and aerated is gently poured over the roots of the plants. This addition allows faster growth, resulting in a quicker and larger harvest.
How Does A Recirculating DWC With A Top Feed Work?
Although bubbleponics may sound difficult, it is actually relatively simple in how it works. All plants require air, light, nutrients, water, and some medium to grow in. Recirculating DWC with the top feed exposes your roots to all of these factors in a way that is quicker and more efficient.
Typically, plants are grown inside a soil medium. With bubbleponics, the medium is pH-balanced, nutrient dense, and oxygenated water. Plus, additional water is gently pumped over the root’s base, providing quicker access to the medium.
This technique creates a faster-growing experience and better nutrient absorption than if the plants were growing with any other method.
You don’t even have to worry about the plant roots drowning with this method, either. When given the correct pH, nutrients, and oxygen, the plant should thrive when the roots are exposed to this amount of water.
What Do You Need To Make A Recirculating DWC With A Top Feed?
- 10-gallon reservoir containers with lid
- Net pots
- Water pump
- Air pump
- Hub
- Tubing for the air pump and water pump
- Tubing for manifold
- Large airstones
- Timer
- Hydro starter cubes
- Nutrients
- Rope ratchets
- Twisty tie
- Ph testing kit
Optional Items to Get:
- Hydroguard
- Mister or sprayer
How Do You Make A Recirculating DWC With A Top Feed
Here is how to make a recirculating DWC with a top feed:
Setup the Area
Begin by preparing the area that you intend to grow the plants in. We recommend cleaning and vacuuming this area so as to remove any bugs, mold, or dust. Then, place the grow area in complete darkness. Cannabis plants need 12 hours of uninterrupted darkness.
Depending on the plant, you may need to place the reservoir off the ground a bit. If you use a pump, which we recommend, you won’t need to raise the reservoir.
Light Setup
It’s time to focus on the lights. You have many light options to choose from, and there are multiple ways that you can hang them. If you’ve never used grow lights before, we recommend starting with CFLs. These lights are easier to maintain and have low setup and maintenance costs.
One of the more effective grow lights is the metal halide or high pressure sodium option (MH/HPS). These lights are the standard for most indoor growers. If you want your plants to grow very big, this is what you should select. Keep in mind that these lights produce a lot of heat, which will raise your energy bill dramatically.
You can also select LEDs. They are a common alternative to MH/HPS, but their yield is often smaller. However, newer models are more effective than older ones. Compact fluorescent lamps (CFLs). They don’t create that much power, but they produce less heat and are affordable. They will make the room very hot. So, you have to be cautious when using them.
Finally, the last light setup option is light emitting ceramic or ceramic metal halide. These lights have been a popular craze as of late even though the technology has been around for decades. They naturally produce UV rays, which is beneficial if you want to maximize THC production.
Setup the Device
Once you have adequately cleaned the areas and selected your light, it’s time to start setting up the device. Make sure not to plug anything in yet. Start by soaking your airstones and rinsing your hydroton rocks.
After those have been adequately cleaned, put the airstones inside the reservoir and run tubing from these airstones to the air pump outside. Don’t plug in the pump just yet. Place the water pump in the tank as well and connect the hose to the top of the water pump.
Next, attach the barb to the drip manifold bottom, and cut tubing to attach to the drip manifold ports. You want six 1 foot pieces of ¼ inch tubing. Now, let’s put all these parts together. Connect the hub, which is the drip manifold with the tubing now attached, to the clear hose that is located on the top of the water pump.
At this point, you’ll notice that the system does not have a proper exit for the chords. Simply cut a small slot in the reservoir. We recommend placing it through the handle.
Make the Plant Nests
Now, it is time to move on to the plant nests. Begin by placing five to six nest pots on the reservoir’s lid and put the lid back on the container. You do not want to put your plants in yet.
Lift up a small corner of the lid and run the tubes from the hub into each net pot that will have a plant. Then, twist the valve on each tube that is going into a net pot. You want the valve’s line to be parallel so that the valves are open.
Gather the Nutrients
Select nutrients that you will later mix into the water. As we discussed above, what makes this growing method so effective is that it maximizes nutrients within the water. In order to do this, you have to actually have the added nutrients.
You can select any brand you would like, but make sure that the nutrients are formulated for hydroponic systems specifically, not soil. Additionally, make sure that the nutrients are made for the vegetative and flowering stage for the plants. If tomatoes are referenced on the label, that nutrient option will work.
Mix the Nutrients in the Water
Now, mix the nutrients in the reservoir. Any type of water is fine, including tap water, well water, or rainwater. Some growers prefer reverse osmosis water because it has the least amount of minerals, but we generally recommend against this option because you will have to add an additional supplement to add calcium and magnesium back into the water.
As for quantity, you want to start out with just a fraction of the nutrients. You will work your way up, but know that you will likely use fewer nutrients than most feeding schedules recommend throughout the entire growing stage. We like to start by using half the recommended dosage in the beginning.
Check the pH
After the nutrients have been mixed into the water, it’s time to check the pH. If the pH is not balanced, the plants will not be able to absorb the nutrients within the water. To test the pH, you will need to get a pH kit or electronic pH tester. These kits will come with instructions. Follow those instructions.
You want your water to be between the 5.5 and 6.5 pH range. Depending on the results, you may need to adjust the pH before giving it to the plants.
Prepare the Nests
At this point, most of the device is set up. What we have to do now is prepare the nests for the plants. We recommend only growing two to three plants per set up. This allows each plant to get adequate nutrients for maximum growth.
If you add more plants, the yield won’t be as impressive. To begin setting up the nests, pour about one inch of rinsed hydroton rocks into the nests.
Then, remove a seed that you want to use from the container. Place the seed on top of the rocks and adjust the tube to just barely touch the seed. Now, fill up the rest of the nest with more rocks so that they are even with the top of the seed.
While you are doing this, ensure that the tube stays barely touching the seed. Repeat this process on however many nests you intend to use.
As for the nests you aren’t going to use, simply fill them up with the hydroton rocks. You want to do this to prevent light from getting into the reservoir, which can lead to root problems like root rot.
To further prevent light from coming in, cut little holes at the top of disposable plates and place them over the nests in use. Cut a little hole out of the center so the plant can grow.
Prep the Seeds
With the rapid growers or seeds in place, pour just a bit of water over the top. Do not drench them. We recommend using plain pH-balanced water, but you can use water with less than 50% of the dosage nutrients if you prefer.
Maintenance
The last step before your system is complete is to simply make sure everything is maintained properly. This includes plugging the lights into the timer. The rest of your devices, such as the air pump, water pump, and fans, should run 24 hours a day and do not need a timer. Turn on everything except for the lights.
You want to leave the room dark until you see a sprout coming out. Then, you can transition the light to reduce light for three to four days. After that, you can increase to full strength light gradually.
Start Growing
Now, you have officially set up your bubbleponics growing area. All you have to do now is start growing and be patient!
What Are The Pros Of A Recirculating DWC With Top Feed?
Growing plants with bubbleponics is beneficial for a number of reasons. Most importantly, it leads to more yields with faster growth. These are the two main reasons that people choose to recirculate DWC with a top feed. Here are some other pros of this method:
- No bugs
- More potent plants
- Easy to maintain
- Small setup
What Are The Cons Of A Recirculating DWC With Top Feed?
Although bubbleponics is beneficial for a number of reasons, it comes with some drawbacks as well. For example, set up is more expensive and requires more time. Additionally, this method is most effective for the first couple of weeks of growth. As the plant grows, its effectiveness decreases, and top feeding virtually becomes unnecessary at some point.
You also run the risk of root rot, which is bad for the plants and causes a weird smell. Not to mention, proper temperature is a must, and it can be a bit difficult to master the correct venting, exhaust, and heat when you first get started.
Recap
Recirculating DWC with top feed is a great method for growing plants because it allows a larger yield in a shorter amount of time. Although this method does require a bit of setup, it is generally easy to maintain once it is up and running.
By following the steps above, you can start growing your plants with the bubbleponics method. Remember to be patient, and pay close attention to the nutrients, water, and light sources. If you do that, your plants should grow in next to no time when recirculating DWC with top feed.