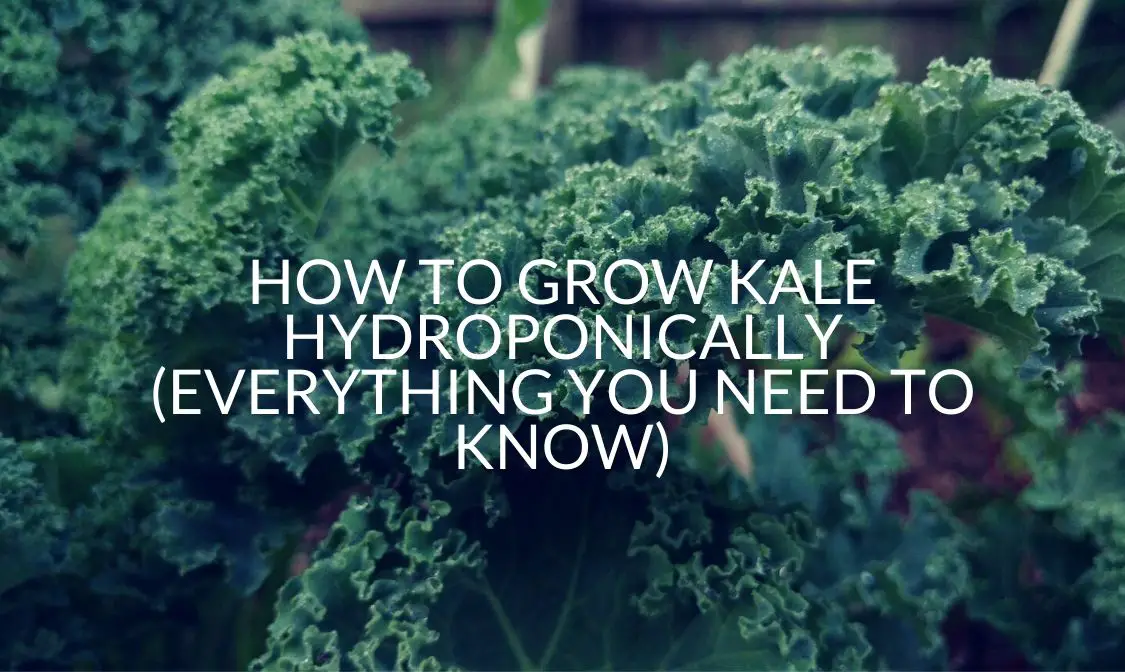
If you’re interested in growing kale hydroponically, then you’ve found the right article! In this article, you’re going to find out everything you need to know about growing kale hydroponically! As well as some things you didn’t realise you needed to know!
First Of All, What Are You Going To Need?
Before you start growing kale, the first step is to make sure you have everything you need. Here’s a list of what you’ll need to have ready, so you don’t scramble for them later on.
- 5 Gallon Bucket
- 2″ Net Cup
- 100 Watt LED Grow Light
- Air Stone & Tubing
- Rock Wool Cube
- Clay Pebbles
- pH Up & pH Down
- Nutrients (MasterBlend 4-18-38, Calcium Nitrate, Magnesium Sulfate)
Different Methods For Growing Kale Hydroponically (And Which Is Best)
As well as making sure you have all the above, there are three main ways to choose from when deciding how to grow your kale. These are The Kratky Method, A Deep Water Culture, Or Nutrient Film Technique.
All of them can work, however, for kale using a deep water culture (DWC) tends to be the most effective. It gives you the most control over the environment your kale will be growing in. Not only is this best for beginners, but it’s also a great way for more experienced growers to grow bigger yields in faster time frames.
What Requirements Do Kale Need To Grow?
The more you match the requirements below, the better your kale will grow. Fortunately, kale is relatively hardy, so even if you don’t get it spot on the first time, it’s still highly likely you’re going to get a great yield.
pH Level
The ideal pH level for kale is anything between 5.8-6.3. Once the pH goes too low or too high, then you’re going to notice that the kale simply doesn’t grow as well.
When the pH level becomes too high, the kale will have a harder time absorbing nutrients. This can often result in the kale looking pale or yellow (when they haven’t absorbed enough iron), or with leaf cupping and tip burn (when they’re not getting enough calcium).
Similarly, when the pH level becomes too low, your kale will also struggle to absorb enough nutrients. However, this time they’re much more likely to get a magnesium deficiency (which causes chlorophyll to decay, in turn causing the leaf between leaf veins to become yellow), calcium deficiency, copper toxicity (which damages the roots as well as stunt their growth), or iron toxicity (if your kale is suffering from iron toxicity, then their leaves will start to bronze as well as small dots appearing on the leaves.
EC/PPM
Next, you’ll need to make sure that the EC (electric conductivity) is between 0.8-1.18 or if you measure nutrients in PPM it needs to be between 560 and 840.
While EC is a much more accurate representation of how much nutrients is in the water for your kale, PPM is still an effective method of measurement too.
The amount of nutrients in the water will also need to change depending on the stage of growth your kale is in. While they’re just starting to sprout they’ll need to be on the lower end of the scale, however, once they’re growing properly you’ll need to increase the amount of nutrients in the water for them.
And remember, it’s not a good idea to go over the amount of nutrients recommended, otherwise your kale will suffer from nutrient burn.
Water Temperature/Environmental Temperature
You also need to make sure that you’re keeping the water temperature between 65.3-70.7°F (18.5-21.5°C). As well as this you should also make sure that the environmental temperature is between 75.2-82.4°F (24-28°C).
If the temperature gets too hot then your kale will begin to suffer from heat stress. When this happens you’ll notice that the roots of your kale will become slimy, turn black, and even die.
(Find out why your kale may be suffering with black spots, or why there are holes in it’s leaves.)
When the temperature becomes too low, the only problem you’re going to have to deal with is stunted growth. Also, it’s a lot less likely that the temperature will drop too low, unless you’re keeping your kale outdoors during the colder months.
Relative Humidity
You’ll also need to make sure the relative humidity is between 55-65%. If the relative humidity is too high, then it’s going to be much higher for the kale to breathe properly. As as well as this, it also increases the chance of milder and fungus growing on the plant.
When the humidity is too low then the you’ll notice that your kales leafs begin to curl up. This is because they’re drying out and need to be in a more humid environment.
However, fortunately, if you’re growing indoors, then the humidity is most likely going to be fine for your kale. So you won’t have to worry about this too much.
Spacing
Kale require a lot of space to make sure that all of the plant is getting enough light. So when planting kale, you should try to keep them a foot and a half away from each other. This way their not going to stop each other from getting enough light which is essential for growth.
While you can get containers that are big enough to hold multiple kale, it’s definitely recommended to store them in individual containers that can easily be moved if they need more space.
(Find out How To Grow Habaneros Hydroponically.)
Lighting
It’s important to make sure that your kale is getting adequate lighting. If you can’t give them access to direct sunlight, then making sure you have a strong enough light source is recommended.
LED lights are the most efficient lights and when using LED for kale, you should be aiming for around 50-80 watts per square foot. And of course, when you’re using artificial light, you should make sure that there’s enough space between the light and your kale to reduce the chance of leaf burn.
Nutrient Requirements
Lastly, you also need to make sure you’re giving your kale the right amount of nutrients. Many people find that MasterBlend 4-18-38 is a great fertiliser for kale, and it’s a great one to try when you’re first starting out.
However, as you become more experienced don’t be afraid to experiment a little bit to see if you can get a larger yield. As well as this you should also be adding Calcium Nitrate and Magnesium Sulfate (Epsom Salt).
When adding nutrients it’s important not to add them at the same time. You should start by adding Calcium Nitrate.
If you’re going to grow kale hydroponically then follow these guidelines…
For every 5 gallons of water:
- Add 10g of Calcium Nitrate and stir thoroughly. Calcium Nitrate doesn’t mix with the other nutrients, and it can damage your plants if you don’t add it and stir it thoroughly first.
- Next, add 5g of Magnesium Sulfate and stir that thoroughly as well.
- Lastly, add 10g of MasterBlend 4-18-38 and stir.
- If the pH level becomes too low you should also make sure you’re adding the correct dose of pH down to bring it down to 5.8-6.3.
Fortunately, if you’re not sure about dosing, the labels on your nutrients will tell you exactly what you need to do, and for best results, you should follow them.
(Check out How To Grow Broccoli Hydroponically!)
How Do You Grow Kale Hydroponically?
Now you know the basics, the next step is actually growing your kale! Fortunately, if you follow the guide below, you’re going to have no problem growing your kale!
Here’s what you’ll need to do.
Prepare Your Rock Wool
Before anything you’re going to need to prepare your rock wool. However, doing so is incredibly easy. All you’re gong to need to do is soak the rock wool in dechlorinated water.
If you’re not sure how to get dechlorinated water, you just have to get regular tap water and let it sit for a couple of hours. If you’re impatient, though, you can also use a water dechlorinator.
Add Your Seeds
Once the rockwool has soaked been soaked in water, the next step is too add your seeds. When you’re adding your seeds, you should add 3-4 seeds to each rock wool cube.
Doing this is going to massively increase the chance of having a successful sprout in every cube. There’s nothing worse than not putting enough seeds in the cube and only getting half the kale to sprout.
Create The Right Atmosphere
Now you’re going to need to create the perfect atmosphere for your seeds to grow.
Get a see-through tub you can put a lid on and place all of your cubes into it. Once you’ve done this add a small amount of water into the bottom of the tub to keep the rock wool moist and close the lid on top.
Now all you’re going to have is leave the tub closed for 4-7 days. By keeping the tub closed you’re going to increase the humidity inside which is softens the seed making it easier for your kale to sprout.
To help increase the humidity you should also make sure that a light is shining onto the tub you’re keeping your kale seeds in.
Setting Up Your Deep Water Culture
While you’re waiting for the kale to sprout you can set up your DWC. To do this, simply get a 5-gallon bucket and using a hole saw cut a 3″ hole into the middle of the lid. This is where you’re going to place your net cup.
Once you’ve done this fill the bucket with water, until it’s just reaching about 1/8 up the net cup. This way you’re kale will still be able to absorb water, but it won’t be so much that it doesn’t encourage the roots to grow.
Adding The Kale To The DWC
Once you notice your kale has sprouted, you should leave them for a couple more days before you move them to your DWC. Once you add your kale to the DWC make sure that they have plenty of access to light and nutrients.
If you notice more than one kale sprouting from your rock wool you should keep only the strongest kale and remove the rest to make sure they don’t kill each other.
When they’re still sprouts they’re not going to require as many nutrients as when they’re growing. Around 560ppm will be enough for them. However, as they begin to grow rapidly you should increase the amount of nutrients you’re giving them to about 840ppm.
And of course, you should also make sure you’re giving them sufficient light. If you’re keeping them outside place them in sunlight, and if you’re growing them inside a 100 watt LED light per square foot will be more than enough to keep them healthy and happy.
Just make sure when you’re using LED lights you’re leaving enough space away from your plants so they don’t end up suffering from leaf burn.
Once they’re in the DWC you’ll only need to keep an eye on the pH, EC/PPM, temperature and of course topping off the water.

When Should You Top Off Water/Change Water?
You’ll notice that the bigger your kale grows, the more water it’s going to use. So you’ll need to top it off every so often.
When topping off the water you’ll need to make sure that you’re giving the roots room to breathe. If they’re always submerged in water, not only are they going to have no incentive to grow down, but they’ll also become much more likely to rot or go bad.
Generally speaking, as they get bigger, you’ll need to top off the water in your kale every 2/3 days. This way the nutrients isn’t going to become too concentrated which can cause nute burn.
The most important thing to remember when topping off water is making sure that you’re measuring how much water you’re adding every time.
Because once you’ve top off 5 gallons of water, you should remove all of the water in your DWC and replace it. This normally happens every 15-20 days, but for the best yields should measure it exactly.
(Want to know how to grow garlic or ginger hydroponically!)
How Long Does Kale Take To Grow?
Fortuantely, kale is a quick growing plant, and it’s perfect for beginners for exactly this reason. I fyou’re growing kale then you can expect it to grow in about 7-10 weeks depending on the conditions.
However, before it’s fully grown you can also harvest some of the kale as long as you’re not harvesting more than 30%, you can begin eating your own kale a lot sooner!
What Can You Grow Alongside Kale?
If you’re housing your kale in a big enough container, it’s also possible to grow other vegetables and plants alongside it. If you didn’t want to just grow kale then you could also try growing cucumber, lettuce, celery, micro-greens, coriander, mint, and spinach!
What Pests Can Affect Hydroponic Kale?
While you don’t have to worry so much about pests when you’re growing kale indoors, when you’re growing them outside, they can become a real issue.
So when you’re growing kale outside make sure you’re looking out for these pests which could affect the growth and yield of your kale.
Aphids
Aphids are extremely common pests on all plants, and it’s no surprise that they’re also common on kale as well. If you notice a few aphids on your kale then you can just spray them off with a hose. However, if you notice that your kale is is infested with aphids then you may need to incorporate the help of natural predators like ladybugs.
Caterpillars
Butterflies often like to lay their eggs on kale, so the caterpillars have something to eat the moment they’re born. If you notice a lot of butterflies in your garden, then you should check your kale to make sure no eggs have been laid on them. As well as looking for eggs you should also look for cocoons on the kale leaves as well.
There are many natural remedies to removing caterpillars and their eggs. One great remedy is to try and get more birds to enter your garden who will see the caterpillars as a great snack.
Flea Beetles
Flea beetles are small beetles that can also damage your kale if they’re left untreated. While one flea beetle is unlikely to do much harm, the main problem is the sheer volume of them that will often eat the kale.
Fortunately, if you notice flea beetles they are relatively easy to get rid of. Diatomaceous Earth is a natural product that can kill them while being harmless to larger animals like me and you. They are made from diatom fossils and are extremely sharp on a microscopic level. When the beetles breathe them in they end up dying.
Even though it’s harmless it’s still a good idea to wash your kale before eating it if you’ve used Diatomaceous earth and make sure you’re only using a food grade brand!
Recap
Now you know everything there is to know about growing kale hydroponically. If you stick to this article you’ll be able to grow an impressive yield in no time. However, just remember that you can also have much better harvests when you’re experimenting yourself and as you become more experienced!
If you liked this article make sure you check out the rest of the website! Otherwise have a great day.