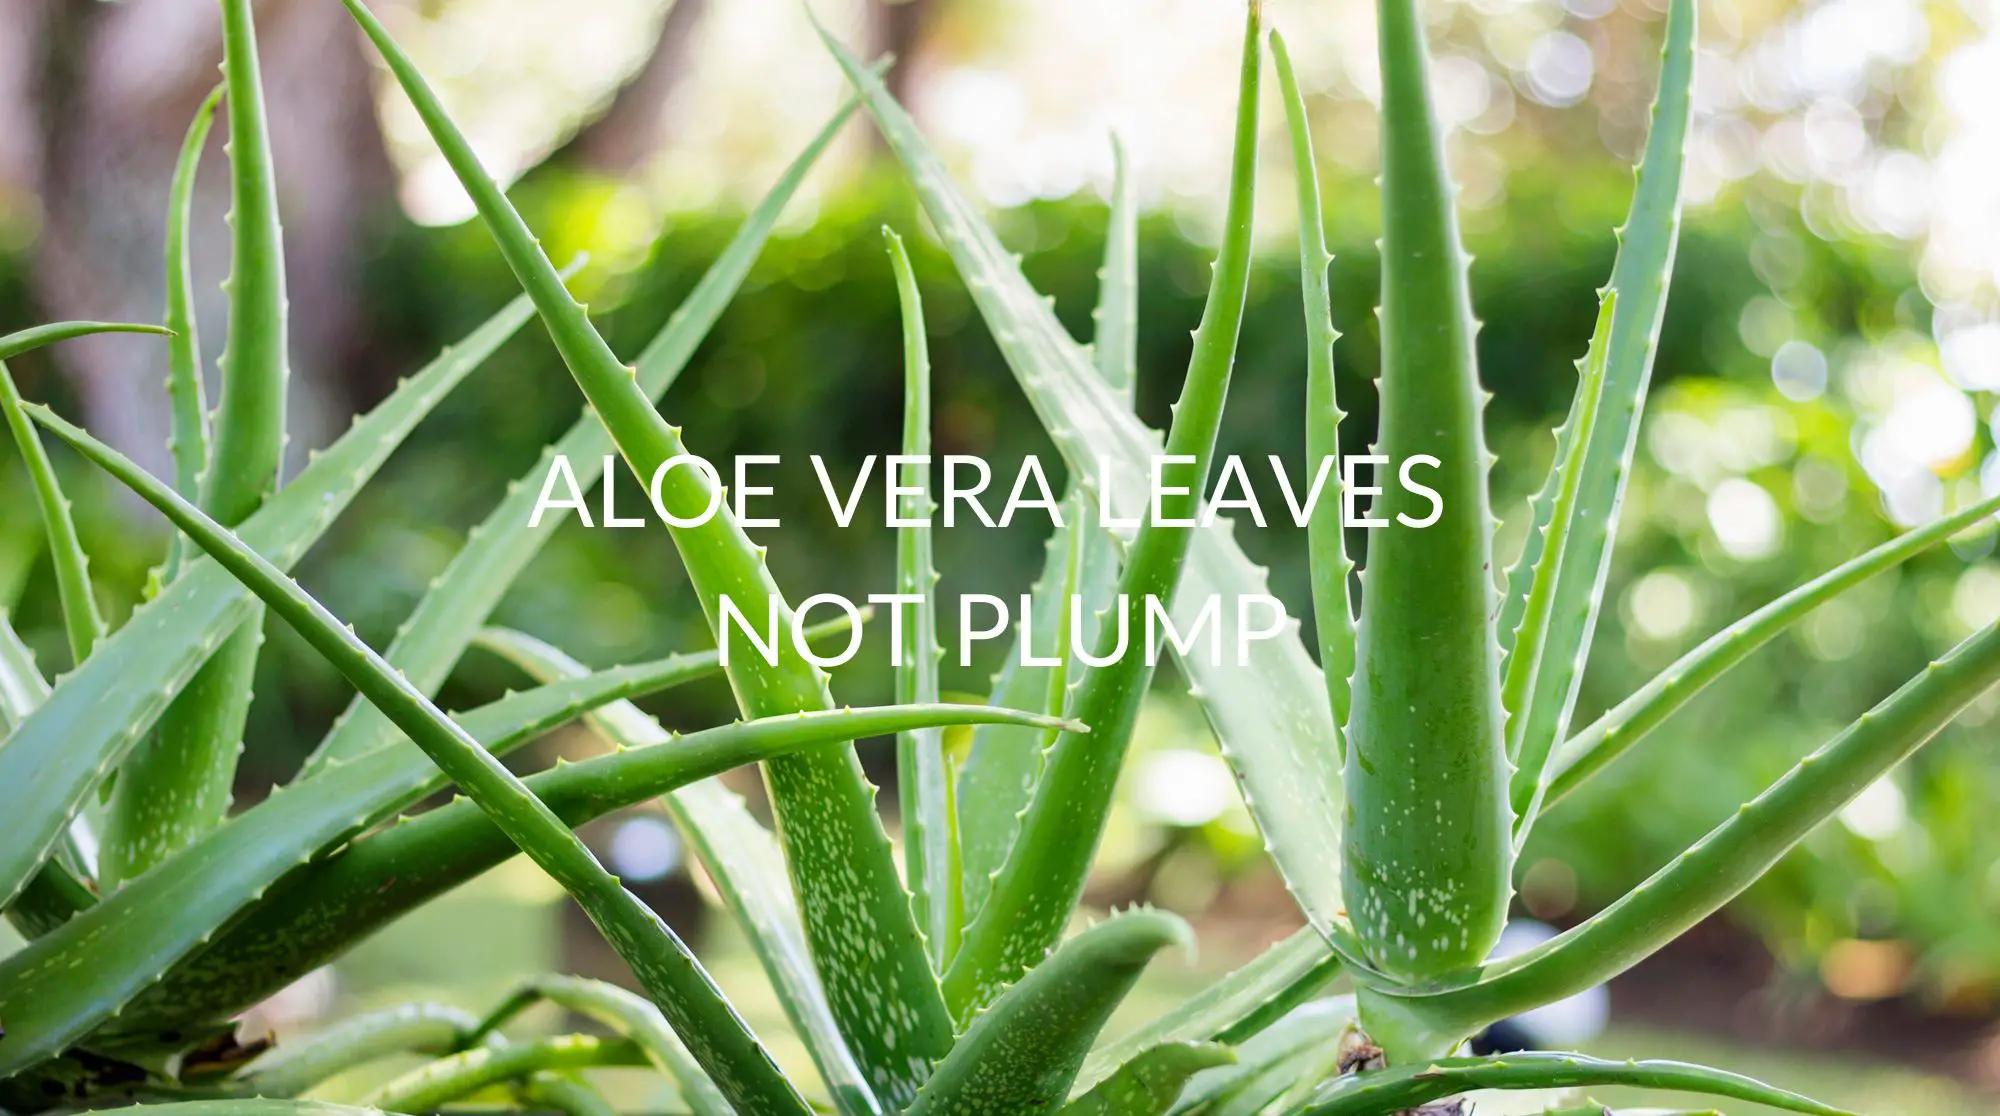
When you bring an Aloe Vera plant home, it’s easy to fantasize a little about just sticking it somewhere and watching it grow healthy and strong all on its own. While these desert beauties are strong indeed, they are going to require at least a little nudging on your part, and that’s the subject of our article today.
Aloes require minimal care, but once you know exactly what they need, you can get some amazing results with very little effort on your part.
Today we’ll share some checklists as to why your plant might not be doing so well, what you can do to encourage healthy growth, and give you some ways to keep your plant from looking skinny and ‘hungry’ all the time. Let’s talk about plumping up your Aloe plant to its proper, excellent health!
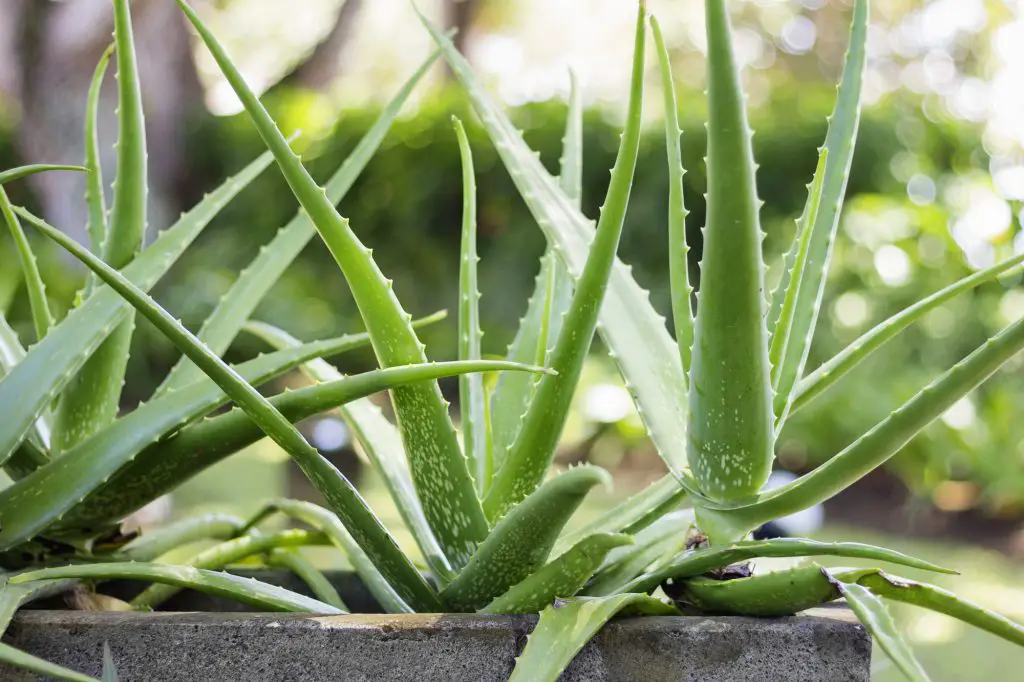
Is A Skinny Aloe Vera Plant Normal?
No, a skinny Aloe Vera plant is an unhappy one. While these hardy plants can thrive quite well just about anywhere, they do still have needs, even if they are much less than what most other plants will require. If it’s too skinny, you’re going to need to make a few changes.
Don’t worry – it’s not complicated. You just need to understand the proper water levels so that it’s not over or underwatered and make sure that it’s getting the right amount of bright, indirect sunlight. If you do, the Aloe will surprise you with how quickly it changes its look!
Why Is My Aloe Plant Not Plump
If your Aloe is looking sickly, then there is a quick checklist that you should go through to make sure that it’s not something basic. Aloes aren’t hard to take care of once you know the basics, so let’s take a peek at what you should check if your Aloe is not properly plump.
Your Aloe’s Pot Might Need an Upgrade
If your Aloe’s pot is a bit on the small side, then this could be a problem. As the Aloe produces ‘pups’ and spreads its reach, the roots below are running out of space to function efficiently – even tangling up or, in some cases, requiring a trim.
Make sure that your Aloe has enough space – it doesn’t have to be enormous, but a tiny pot is definitely going to be a bit too restricting for your plant.
Your Plant Might Be Getting the Wrong Amount of Water
That ‘plump’ appearance that you’re looking for is based on water. Aloe is a desert succulent that survives the long dry spells by storing water in its leaves. In most cases, when those leaves aren’t plump, your Aloe is not getting enough water.
This is a common mistake, as these plants are hardy and can survive for a long time on very little. The ideal frequency for watering should be once every 3 weeks in the warm months and even less in the winter.
Check the top two inches of soil and only water it when those are dry to learn the perfect watering schedule.
Consider the Soil That You Are Using
Your Aloe isn’t going to thrive in plain potting soil. Succulent and Cacti soils may be purchased commercially, or you can whip something up on your own. The important thing is proper drainage. You need additions such as chunks of bark, lava rock, perlite, or even a mix of these.
This will properly mimic the types of soil that Aloe takes root in naturally, and this will give it the best chance at robust and healthy growth.
Too Much Sunlight Can Make for a Droopy Aloe
While they are plants that thrive in desert environments, don’t make the mistake of thinking that the sun can’t harm them. Aloes do best in bright, indirect light, and direct sunlight can burn them if they get too much exposure.
This will usually result in droopy, browning leaves and a very unhappy Aloe plant. While it can take small doses of direct sunlight, it’s better to play it safe and place it in a spot where sunlight exposure will be plentiful but indirect, such as a spot 3 feet from the window.
Your Aloe Might Be Cold
Aloe Vera plants don’t do so well in the cold. While deserts certainly get cold at night, climate control in the home is fairly constant, and if your Aloe just happens to be in a spot directly under or very close to a vent, then you might be unintentionally chilling your plant.
Make sure that this is not the case, and if there is a vent overhead, then you’ll need to close it or relocate your Aloe so that it is not constantly in the cold.
How Do You Make Aloe Vera Plump?
If your Aloe Vera plant just seems to be ‘getting by’ and you’d like to give it a bit of a health boost, then try using one or more of the tips below to encourage your plant to grow up healthy and strong.
You’ll be surprised at just how well these plants can do with just a little nudge in the right direction!
You Can Make Your Own Succulent Soil
We mentioned that standard potting soil doesn’t cut it, but you CAN whip up a succulent mix with it if you add the magic ingredients. It’s a simple matter of putting together the following 3-part mix of grit, soil, and sand:
- Standard potting soil (1 part)
- Grit – Gravel, perlite, or pumice (1 part)
- Horticultural-grade sand – Coarse and chunky for best results (1 part)
Succulent Soil Is Good Stuff – Consider Using It
On the flip side, if you’ve mixed up your own soil already and it’s not working as well as you like, standard Cacti or Succulent soil is commercially available, inexpensive, and effective. It’s much the same as our recipe, with perlite, pumice, gravel, and other well-draining components that make your Aloe feel right at home.
Even Succulents Like Fertilizer
While they can stubbornly live without it, Aloe Vera plants like fertilizer just as much as any other plant; you just need to use the right kind and use it in the proper amounts. That said, you only need to fertilize it once a year, at the beginning of spring.
Select a water-based succulent fertilizer that is heavy in phosphorous and dilute it to half-strength. Next, time your fertilizing session so that you have watered the plant already the day before. This will wash out any excess salts in the soil and minimize the chances of your Aloe’s leaves getting ‘tip burn”.
Remember – only do this at the beginning of spring. Any more than that could be detrimental to your plant’s health.
Water According to the Soil, Not Your Schedule
A good rule when it comes to your Aloe and to any plants, really, is to start relying on touch for watering rather than an ‘x’ on certain calendar days. With many plants, Aloe included, the top 2 inches of soil should be dry before you water them.
This helps you to avoid overwatering and potentially causing root rot in the plant. Get in the habit of always testing the soil first, and you’ll never be at risk of overwatering or underwatering your plants once you’ve gotten to know their needs.
Consider Repotting Your Aloe Every Few Years
While your Aloe is hardy and doesn’t need this as much as other plants, you should consider repotting it every 2 to 3 years for good measure. This lets you trim out any dead roots and also gives your plant a brand-new and fresh soil matrix to grow in.
Over time, producing pups and the natural growth cycle is going to deplete your soil’s nutrients and reduce its effectiveness as a growth medium. By changing it out every 2 to 3 years then, you ‘keep things fresh for your Aloe, and you’ll see excellent results.
Control Humidity With Other Dehumidifying Plants
While some people like to employ a dehumidifier to help reproduce the Aloe’s natural environment, there’s a way to do this that’s arguably a lot prettier, won’t add to electric costs, and is easy to do – give your Aloe some dehumidifying ‘buddy plants’.
You’ve got quite a few choices in this, but some examples include Peace Lily, English Ivy, Lilac, Boston Ferns, and even the amusingly named ‘Purple Waffle Flower’. By arranging a few of these to accompany your Aloe, the area around them will stay appreciably drier, and everyone will thrive the better for it.
Trim off the Dead Weight When You Have To
It takes a while to get used to doing this because, at first, you’ll feel guilty, but you’ve got to trim your plants from time to time if any parts of them are dying. This can be leaf tips or whole sections, and sometimes, you even need to trim the roots.
Don’t feel bad – NOT trimming is what makes a plant sicken, as those ‘dead parts’ are disease carriers, so just remember that you are doing your plant a favor and get in the habit of trimming when it’s called for.
Here are the reasons why the tips of your Aloe plant are drying out
How To Prevent Thin Aloe Leaves
If you’ve had bad luck with Aloe Vera before, then don’t worry – we’ve got you covered. Below you will find a few tips to help to ensure that your Aloe isn’t always looking small and hungry!
Bright, Indirect Sunlight Is Best
Your Aloe is going to do its best if you follow a simple rule – 6 to 8 hours of bright, indirect sunlight daily is best. Find a west or south-facing window and put your allow about 3 feet from it, and this will usually do the trick nicely.
The Potting Mix Needs to Have Proper Drainage
If your soil isn’t draining, then your Aloe is basically sitting in a puddle of water. While that only ‘prunes’ a human’s toes, with plants, it will cause root rot.
As such, your Aloe needs proper drainage, usually accomplished with pumice or perlite in the soil mix so that the water doesn’t linger for too long after your plant drinks its fill.
Always Water Aloe From the Bottom
Watering ‘from the bottom’ helps to ensure that you get the roots wet without exposing them to dangerous levels of sitting water. To do this, make sure the top 2 inches of soil are dry, and then pour the water slowly and stop when you see it coming out of the drainage holes in the bottom of your pot.
At this point, you’re done until around another 3 weeks pass (in the warm months) or longer if it’s cold outside.
Make Sure It Dries Between Waterings
You absolutely need to check the topsoil before you water. If you always make sure that those top 2 inches are dry, you will save yourself a lot of headaches in the future!
Some Closing Words on Producing Plump Aloe Plants
Today we’ve discussed reasons why an Aloe might be skinny, as well as how to make it grow plumper leaves and what you can do to prevent it from thinning up once you’ve gotten your plant healthy again. Remember, it needs 6 to 8 hours of direct sunlight, and you always need to check the soil before watering.
Water it only if the top 2 inches are dry, and it will be at a frequency of approximately once every 3 weeks in the warm months and around once a month (or even longer) when it’s cold. The soil dryness will tell you. After that, simply repot it every 3 years to keep the soil at its best, and your Aloe will do the rest!
It’s as easy as that!


